
Writer Studio
Draft long-form content with AI assistance.
Writer Studio drafts platform-native text posts and news articles with AI help, using your own tone and sources. Open Writer Studio from the sidebar; the item appears only when AI Writer Studio is enabled for your workspace.
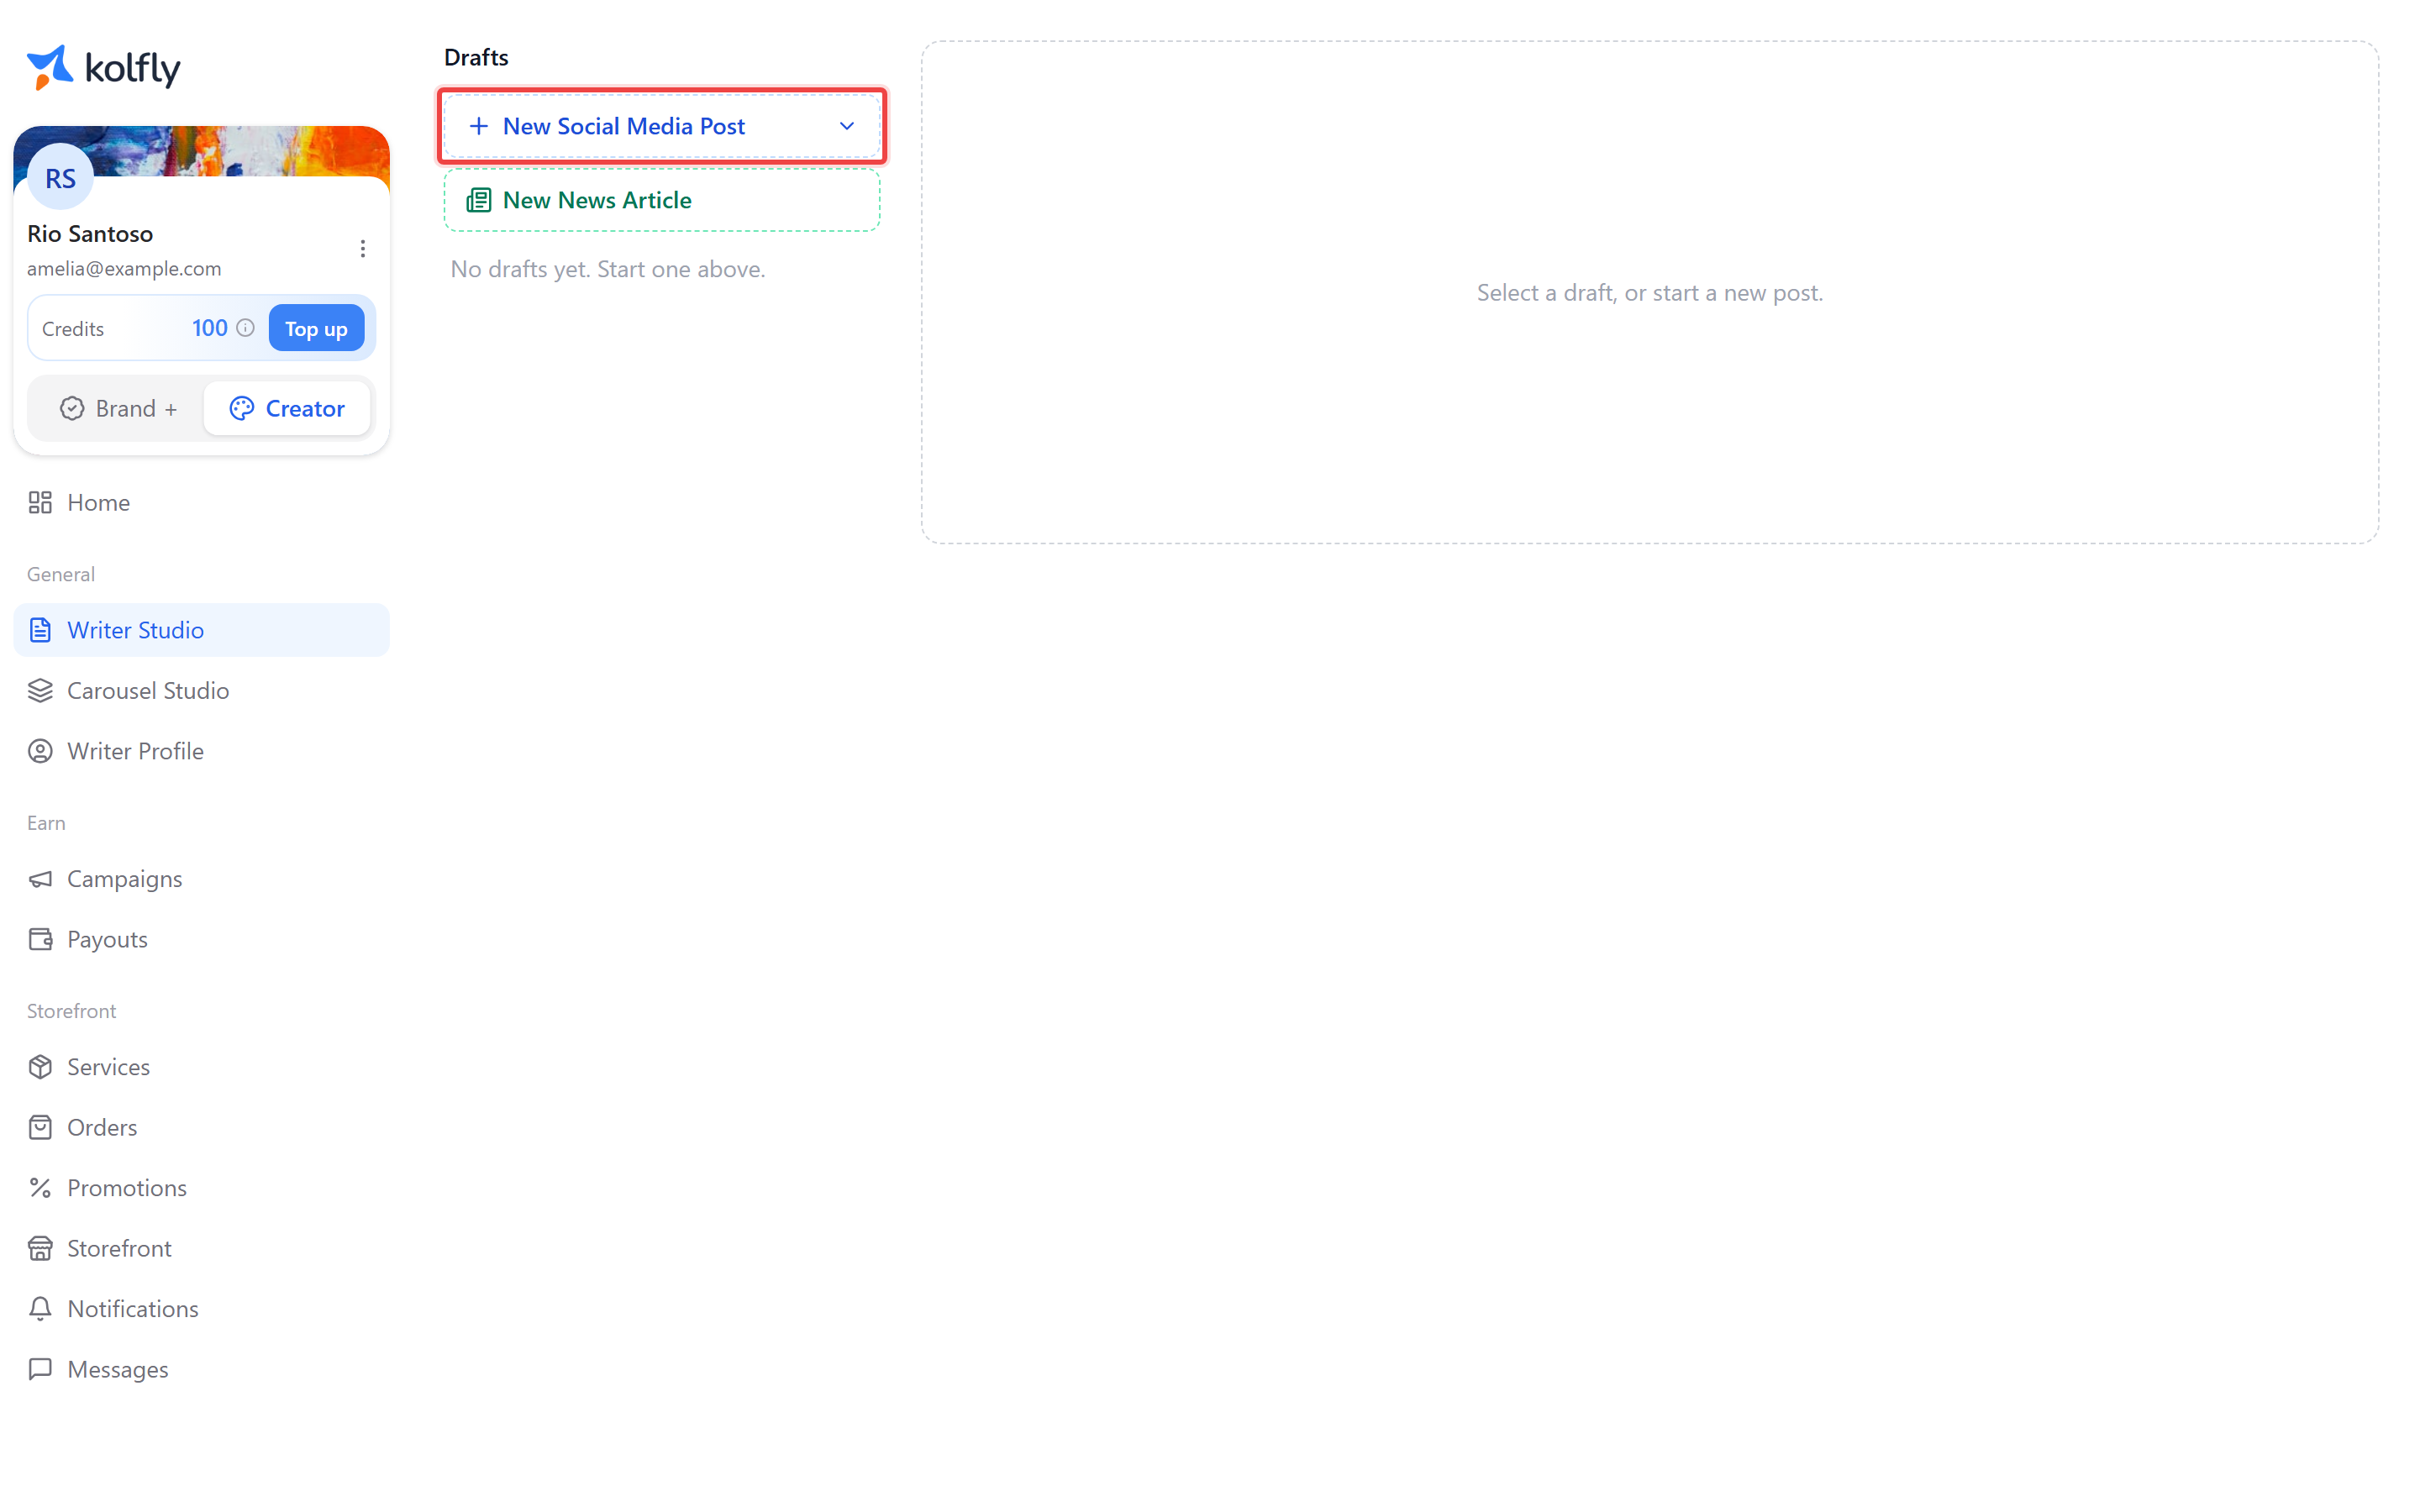
Finding it
Writer Studio uses a two-column layout. The left column lists your Drafts. The right column shows the editor for whichever draft you select.
Starting a draft
- In the Drafts column, click New Social Media Post to see platform choices, or click New News Article.
- For a social post, pick Threads, X, or LinkedIn.
- The new draft opens in the editor on the right.
Each draft in the list shows its content type and a status of Draft or Ready.
Writing a social post
Each social post draft has its own editor:
- Threads and X support multiple posts in a thread. Add posts with Add post, reorder them with the up and down arrows, and remove one with the trash icon.
- LinkedIn supports exactly one post.
- A live preview next to the text area shows how the post will look on that platform. The preview is not clickable.
Generating a post with AI
- Open the Generator panel above the editor (click to expand it if collapsed).
- Optionally choose a Writer Profile from the dropdown, or leave No profile, use my branding defaults only selected.
- Type your topic in What should this post be about?.
- Click Generate.
- Review the proposed draft in the blue review box.
- Click Apply to replace the draft with the generated text, or Reject to discard it.
Applying a generated draft replaces the whole post. Nothing changes until you click Apply.
Below any post, click Rewrite with AI for a new version of that post only, reviewed and applied the same way.
Use the Repurpose for… dropdown above the editor to generate a new draft of the same content for a different platform. A new draft is added to your list; the original is untouched.
Writing a news article
News Article output is always a long-form article, researched and cross-checked against the web.
- Fill in Headline.
- Optionally fill in Niche and Story context: facts, dates, names, and quotes you already know. The AI treats this as the authoritative source and will not contradict it.
- Add Reference URLs for the AI to read, up to 20.
- Check Generate AI cover image if you want a cover image created once you apply the article.
- Choose a Corroboration recency: Last 24h, Last 7 days, or Last 30 days.
- Choose an Angle: Recap, Explainer, Analysis, Hot take, or Breaking.
- Click Generate article.
Generation can take 30-90 seconds. Review the headline, subtitle, and body, then click Apply or Reject. Applying replaces the whole draft.
Once applied, edit the Headline, Subtitle, and Body (HTML) fields directly, with a live Preview below them. Click Regenerate news to reopen the generation form with your current article's values pre-filled. If the article cites research, a Research sources section lists the links used.
Generating images
For a news article's cover, use the Cover image panel: optionally click Custom prompt to describe the image yourself, then click Generate image (or Regenerate image if one exists).
For a social post's illustration, use the Illustration panel below the editor and click Generate image (or Regenerate image). This is a standalone action, independent of text generation, and uses the draft's currently saved text. You can switch drafts while it runs; it keeps generating in the background. Hover the image and click the download icon to save it.
Grounding a draft with sources
The Sources panel lets you add material for the AI to read when rewriting or grounding a draft. Check I have permission to use this source first. Then add a link with the Add button, or click Upload PDF / DOCX / MD / TXT to add a file.
Each source shows a status: Reading…, Ready, or Couldn't read this source. Source text stays private and is never shown as citations in the output.
Saving and finishing a draft
- Save version saves a snapshot of the current draft you can return to.
- Mark ready marks the draft as ready, changing its status from Draft to Ready.
- Drafts also autosave as you type; the status next to these buttons shows Saving… or Saved.
Personalizing with a Writer Profile
A Writer Profile teaches Writer Studio your tone, voice, and writing style, so generated drafts sound like you. Manage profiles from the Writer Profile page, or create one inline from Writer Studio's Generator panel with New profile.
Core fields: Profile name, Tone, Audience / niche, Voice, Language, and Sample writing. Check Use as my default profile to apply it automatically to new drafts.
An Advanced section adds Content pillars, Preferred terms, Words to avoid, Hook style, CTA style, Point of view, per-platform formatting habits, and sample posts.
If you have no Writer Profiles yet, Writer Studio offers to create one the first time you open the Generator panel.
Deleting a draft
Hover a draft in the list and click the trash icon. A brief Undo option appears afterward. Deleted drafts stay recoverable server-side for 30 days even after the on-screen Undo disappears.
Credit cost
| Action | Button | Cost |
|---|---|---|
| Generate or rewrite a social post | Generate | 2 credits |
| Generate a post illustration | Generate image / Regenerate image | 20 credits |
| Generate a news article | Generate article | 20 credits |
| Generate a news article cover image | Generate image / Regenerate image | 20 credits |
Limits
- Threads posts: 500 characters each.
- X posts: 280 characters each.
- LinkedIn posts: no hard character limit; a readability note appears past 3,000 characters.
- A thread (Threads or X) holds up to 25 posts.
- Up to 20 reference URLs per news article.